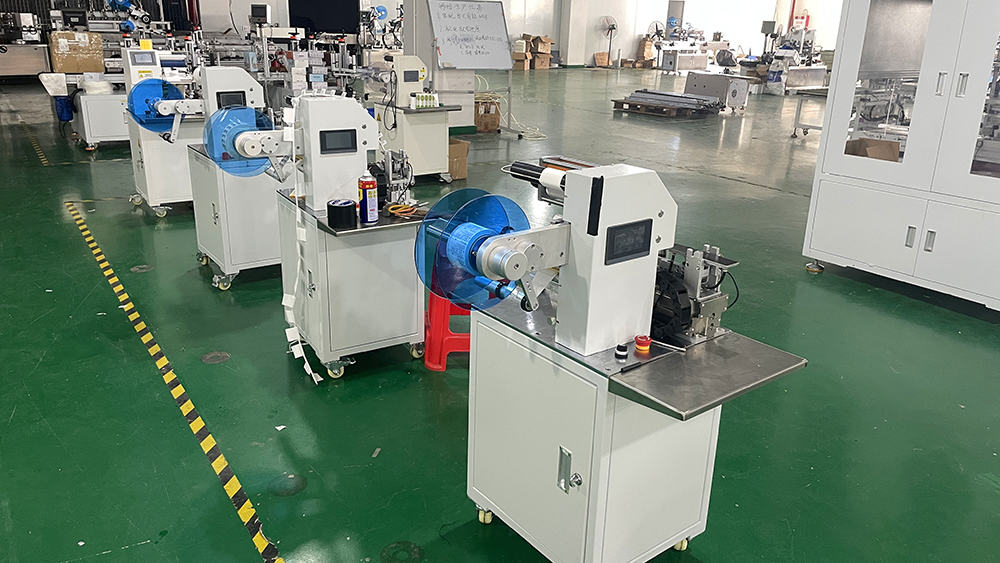
In the field of labeling machines, adjustments to accommodate different wire diameters can be a challenge. Ensuring that your wire labelers and labeling equipment are precisely configured is crucial to maintaining efficiency and accuracy in production. This guide aims to help you navigate these adjustments with ease.
To adjust a labeling machine for different wire diameters, you typically need to alter parameters in the machine’s interface and, if necessary, make physical adjustments to the labeling head. This ensures labels are correctly applied regardless of wire size, enhancing the reliability of your labeling equipment.
Stay with us to learn the step-by-step process of adjusting your labeling machine for varying wire diameters and ensure your production runs smoothly.
What is a Wire Labeling Machine?
Wire labeling machines are specialized pieces of labeling equipment designed to apply labels to wires and cables. These machines are essential in various industries, including electronics, automotive, and telecommunications, where accurate labeling of wires is crucial for identification and safety. Wire labeling machines automate the process, ensuring consistency and precision that manual labeling cannot achieve.
These machines come in various models, each tailored to handle specific wire diameters and label types. They can print and apply labels of different sizes and materials, accommodating a range of labeling requirements. By automating the labeling process, these machines help reduce human error, increase production speed, and ensure that labels adhere securely to wires, even under challenging conditions.

What is the Regular Diameter Range of a Wire Labeling Machine?
Wire labeling machines are typically designed to handle wires with diameters ranging from 3mm to 10mm. This range covers most standard wire sizes used in various applications. For wires outside this conventional range, customization of the labeling head is often required to ensure proper label application.
When dealing with wire diameters beyond the standard 3mm to 10mm range, it’s essential to work closely with the manufacturer to customize the machine accordingly. Customizing the labeling head involves adjusting the components that handle the wire and apply the labels, ensuring that the machine can accommodate the unique dimensions of the wires you need to label. This customization process ensures that the labeling machine performs optimally, regardless of wire size.
How to Adjust the Equipment When the Product Diameter Changes?
Adjusting a labeling machine when the wire diameter changes involves several steps, depending on whether only the wire diameter changes or both the diameter and label size change. Here’s a detailed guide on making these adjustments:
Adjusting for Different Wire Diameters
When the wire diameter changes but the label size remains the same, the main adjustment required is to the center of the label when folded. This adjustment ensures that the label aligns correctly on the wire. You can make this adjustment by entering the new wire diameter into the machine’s human-machine interface (HMI). The machine will then automatically adjust the center position of the label.

Adjusting for Different Wire Diameters and Label Sizes
If both the wire diameter and the label size change, you need to adjust both the position of the label out and the center position of the label when folded. The label exit position refers to the distance the label is peeled off and then stuck to the peeler plate. Typically, this is set to 1mm to ensure that the blowing tube can effectively blow the label onto the labeling board.
To make these adjustments:
- Set the label exit position to 1mm on the HMI.
- Enter the new wire diameter and label size into the HMI to adjust the center position of the label.
By following these steps, you can ensure that the labels are applied accurately and securely, regardless of changes in wire diameter or label size.


What Do I Need to Pay Attention to When Adjusting the Equipment?
When adjusting your labeling equipment, several key points must be kept in mind to ensure the process is smooth and the results are as expected. Here are some crucial considerations:
Set the Machine to Manual Operation
Before making any adjustments, switch the machine to manual operation mode. This allows you to make precise changes without the machine automatically trying to apply labels. Manual mode provides better control and reduces the risk of errors during the adjustment process.
Verify Adjustments Before Full Production
After completing the adjustments, switch the machine back to automatic operation mode and conduct a few test runs. Check the labeling quality and alignment to ensure they meet your expectations. If the labels are not applied correctly, switch back to manual mode and make further adjustments as necessary. Repeat this process until the labels are applied perfectly.
Regular Maintenance and Calibration
Regular maintenance and calibration of your labeling equipment are essential to ensure consistent performance. Regularly check the machine’s components for wear and tear, and calibrate the settings as needed. This preventive maintenance helps avoid unexpected downtimes and ensures that your wire labelers are always ready to handle different wire diameters and labeling requirements.
Conclusion
Adjusting your wire labeling machine to accommodate different wire diameters is crucial for maintaining efficiency and accuracy in your production line. By understanding the regular diameter range, making the necessary adjustments in the machine’s interface, and ensuring proper maintenance, you can optimize your labeling process and meet all labeling requirements effectively.
You may be interested:
- 10 Things You Should Know About Bottle Stickers Labeling Machines
- How to Find and Replace Essential Labeling Machine Parts
- Top 10 Strip Packaging Machine Manufacturers in China
- How Tape Wrapping Machines Enhance Efficiency in Industrial Packaging


